
How do I add a role to my store?

Adding a role to your store that members can buy is quick and easy. However, the process used to do so depends on the store version you use. You can determine which version you use with the following:

V2: used with slash commands and dashboard

V1: used with text commands only

V2

  1. Visit the dashboard and navigate to the Store page

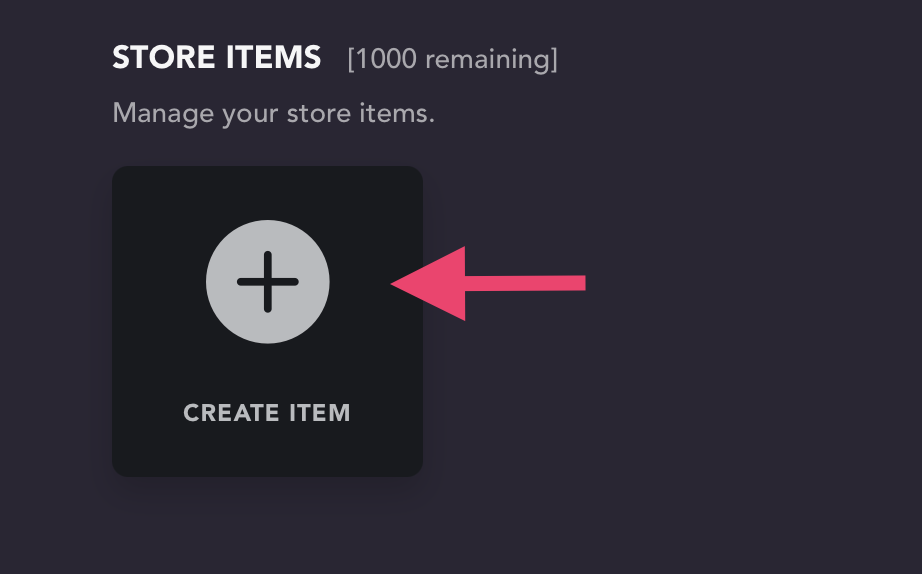
  2. Select "Create Item" (if the item has already been created, you can skip this step) Create item button

  3. Select the item that was created to open its settings

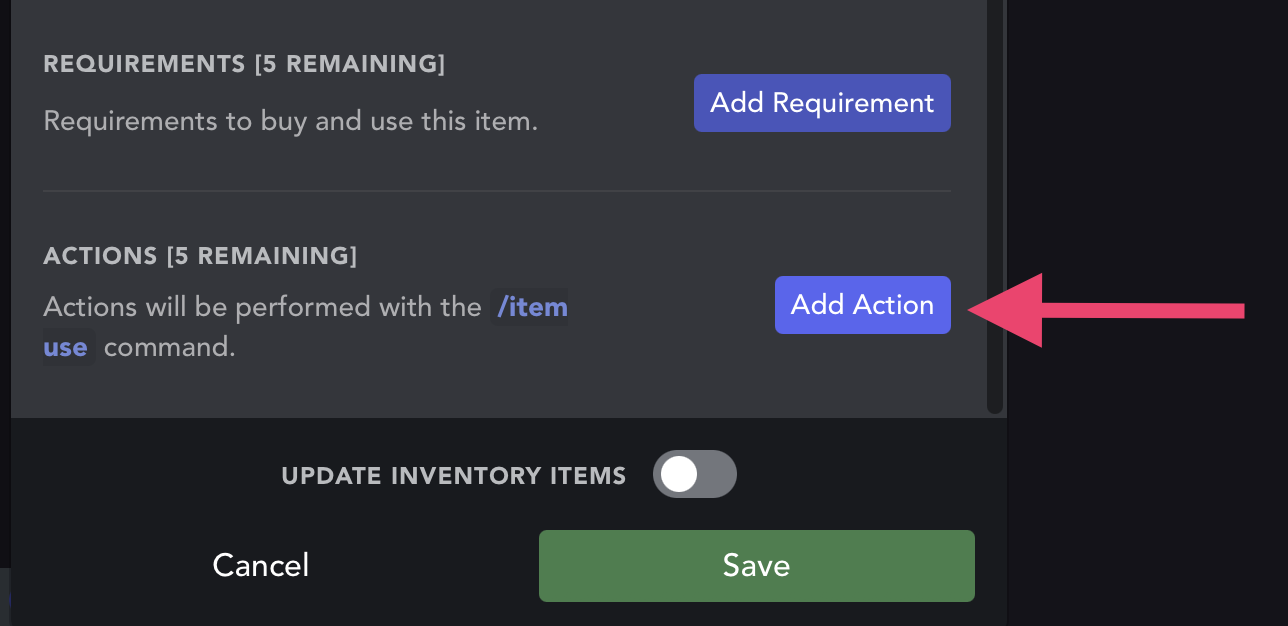
  4. Scroll down to select "Add Action" Add action button

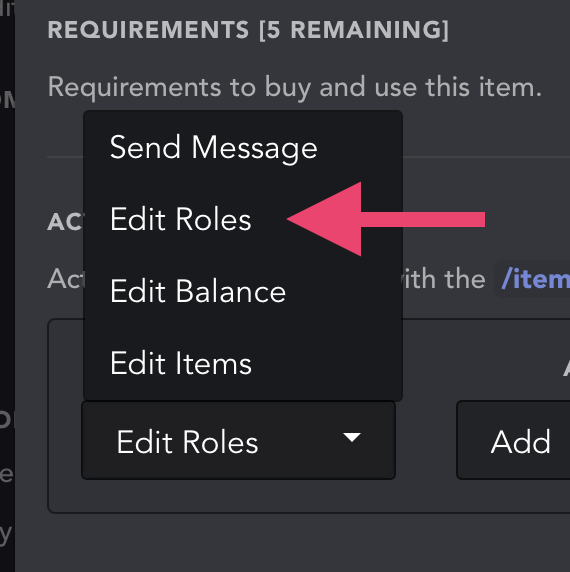
  5. After clicking the dropdown that apears, select "Edit Roles" Edit role option

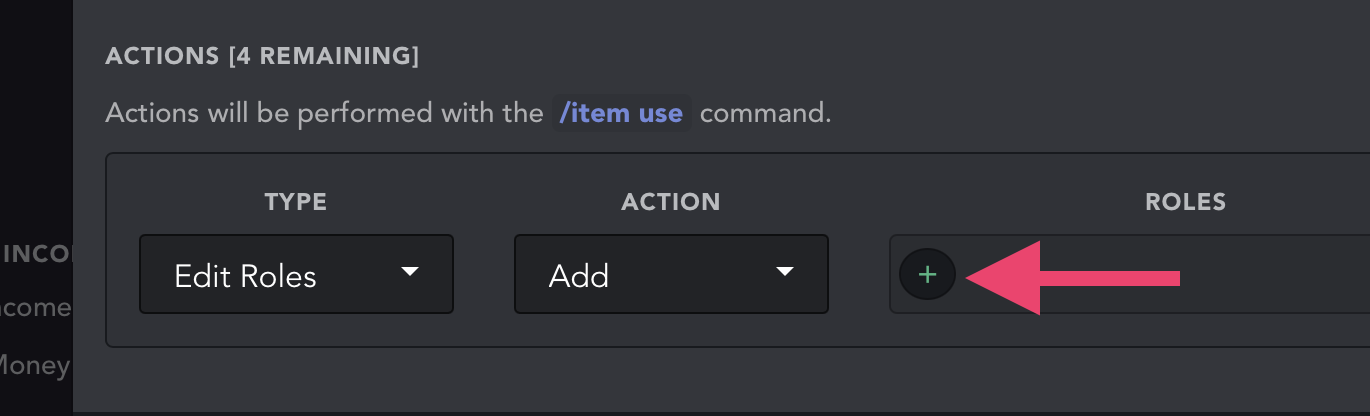
  6. Select the add role button Add role button

  7. Add your role. Make sure this role is below UnbelievaBoat's highest role in the list found in your Server Settings > Roles, or UnbelievaBoat will not be able to add the role to the member.

  8. Click save to save your changes

V1 (item not created)

  1. Run the create-item command. Create item command

  2. Answer the questions the bot asks by sending the answers as messages the channel. On the 8th step, the bot will ask what role will be given. This is where you should send the exact name of your role as a message. 8th step

  3. All set!

V1 (item has already been created)

Use the edit-item command with the role-given option to add the role to the item.

Usage: edit-item role-given <item name> <role> Edit-item command